
Bake some fun and festive cookies!
Materials:
Sugar cookies
- 1 ½ cups of powdered sugar
- 1 cup of butter melted
- 1 teaspoon of vanilla
- 1 egg
- 2 ½ cups of flour
- 1 teaspoon of baking soda
- 1 teaspoon of cream of tartar
Icing
- 3 tablespoons of butter melted
- ½ cup of milk
- ½ teaspoon of cream of tartar
- 1 teaspoon of vanilla
- 3 ½ cups of powdered sugar
Other
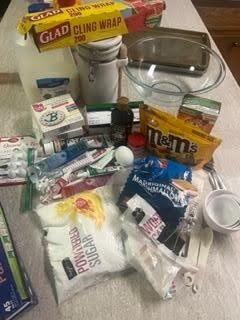
- Large bowl
- Spoons
- Saran wrap
- Rolling pin
- Circle cutter or glass
- Baking sheet
- Parchment paper
- Decorating items such as marshmallows, m&ms, decorating icing, chocolate chips, chocolate melts, etc
Steps:
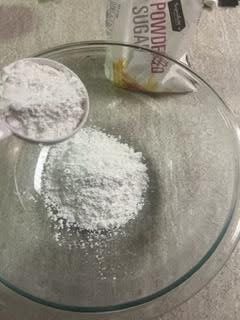
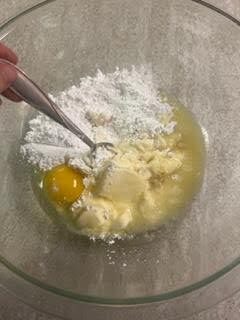
1. Start by making your sugar cookies with this recipe or one of your own. add 1 ½ cups of powdered sugar to your bowl
2. Add 1 cup of melted butter to your bowl. Cut butter into smaller chunks and heat in the microwave 10-20 seconds at a time until melted

3. Add 1 teaspoon of vanilla to your bowl

4. Add 1 egg to your bowl
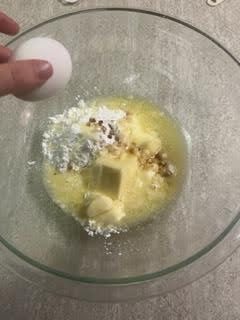
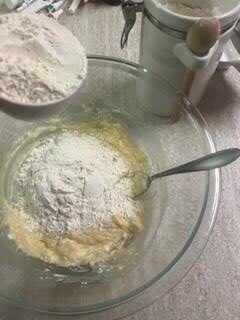
5. Mix your ingredients

6. Add 2 ½ cups of flour to your bowl
7. Add 1 teaspoon of baking soda to your bowl

8. Add 1 teaspoon of cream of tartar to your bowl
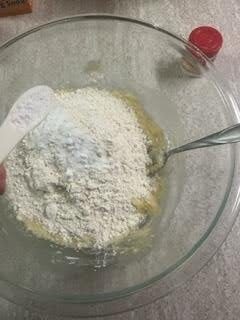
9. Mix together

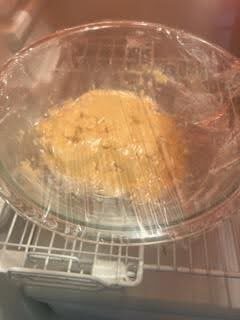
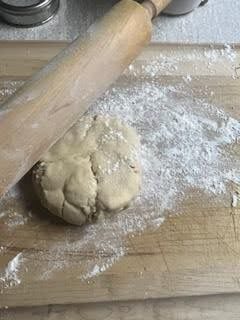
10. Cover with saran wrap and place in the refrigerator for 2-24 hours

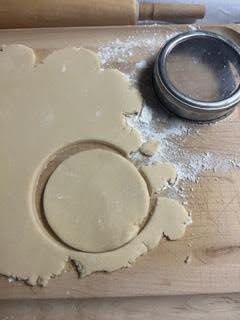
11. Remove from fridge and roll out your dough to a ½ inch thick on a floured surface

12. Use a circle cookie cutter or a glass to cut out circles. Make sure your circles are big enough to hold your decorations. I made three sizes and found that the medium size about two inches around fit my decorations
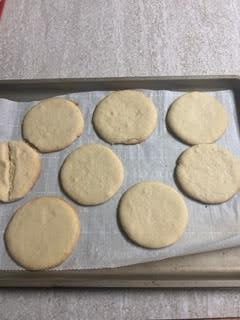
13. Place your cookies on a parchment paper lined baking sheet


14. Bake your cookies at 375 degrees for about 7 minutes or until golden brown around the edges

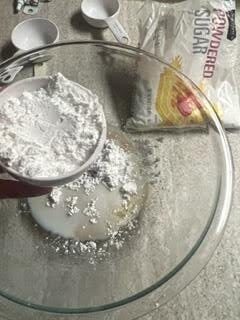
15. While your cookies are cooling, make your icing. Add 3 tablespoons of melted butter to your bowl. After heating your butter make sure it is at room temperature before adding it to your bowl

16. Add ½ cup of milk to your bowl

17. Add ½ teaspoon of cream of tartar to your bowl

18. Add 1 teaspoon of vanilla to your bowl

19. Add 3 ½ cups of powdered sugar to your bowl. If there are clumps in your powdered sugar you can sift it before adding it to your bowl. Your icing should be slightly liquidy but should hold its form on the cookie. If your icing is too thick, add a little more milk to make it more runny, if it is too thin add more powdered sugar. I ended up adding another half a cup of powdered sugar to mine.


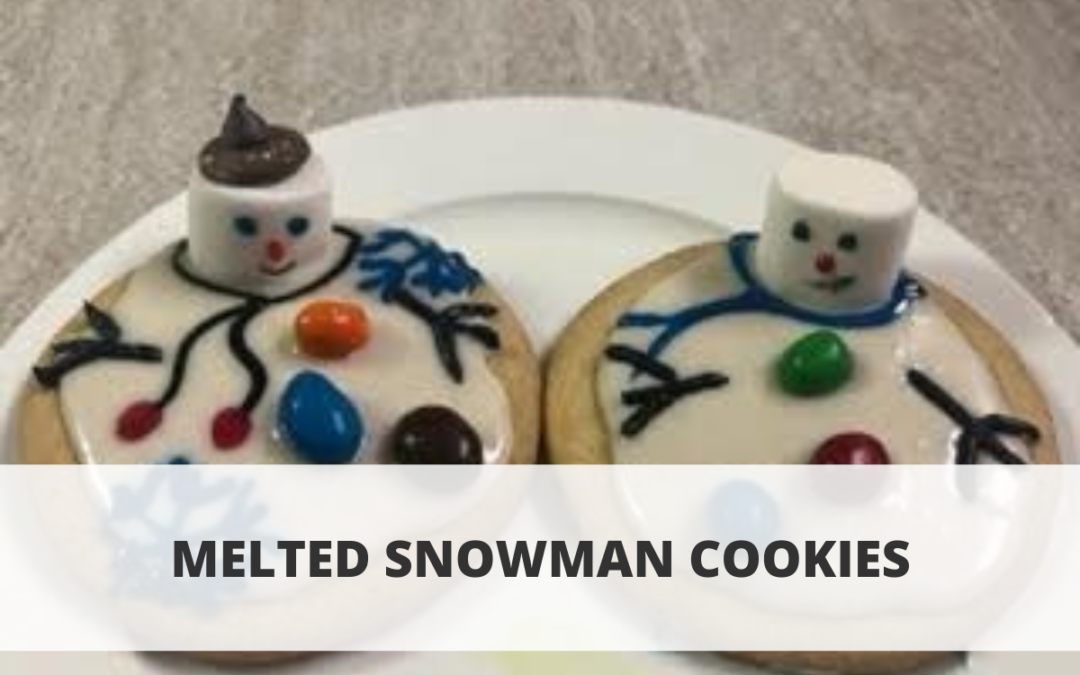
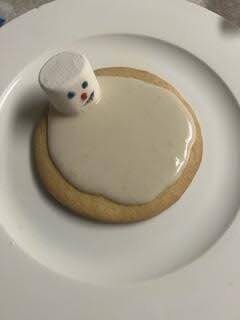
20. Now it’s time to start decorating! Be creative! Add your icing to your cookie in the center and let it drip around your cookie to look like a melted snowman

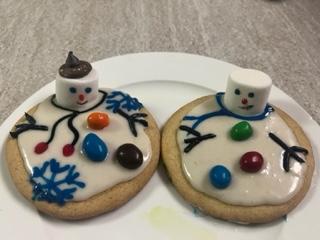
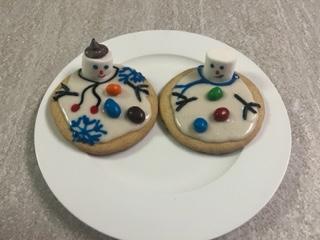
21. Add a marshmallow to your icing. I added a face on mine with a baking pen and decorating icing
22. Next I added a scarf with decorating icing

23. Then I added m&m buttons

24. Next I added arms with decorating icing. On another cookie I added a little hat that I made out of a chocolate melt with a chocolate chip attached on top with decorating icing. I also drew small snowflakes with decorating icing.


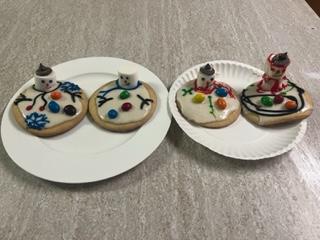
My family also joined in and made some of their own!
Congratulations on completing your melted snowman cookies let us know in the comments how they turned out!