
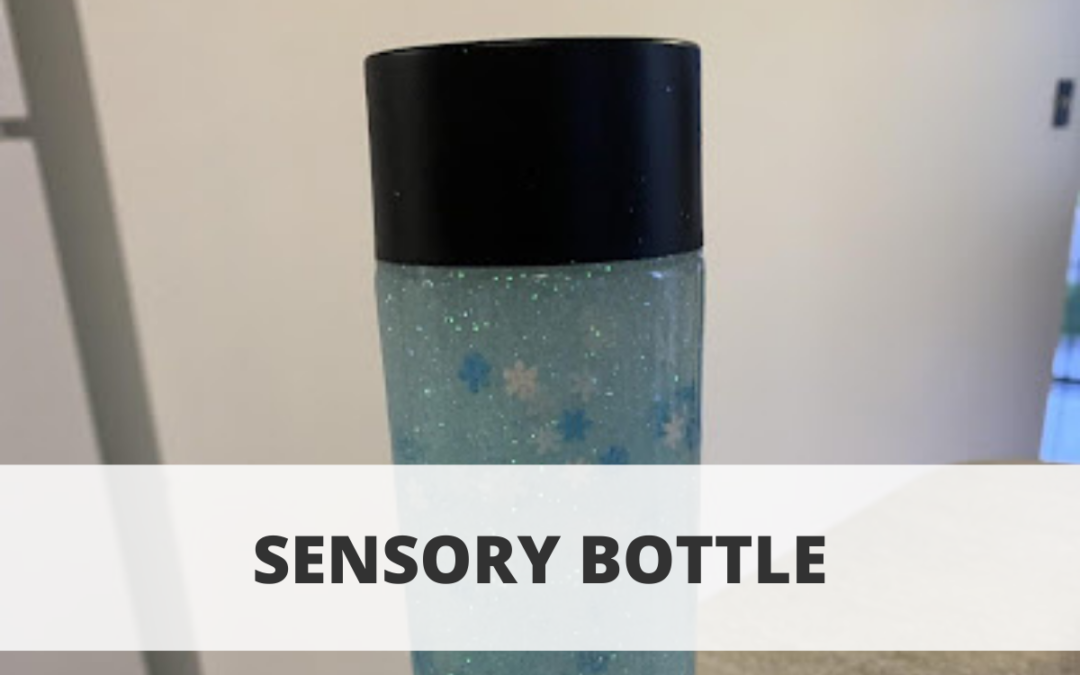
Sensory bottles are great for providing a calming and relaxing activity. They can also be used for math and vocabulary skills by counting the items in the bottle or using lettered beads. Show us your sensory bottles in the comments below!
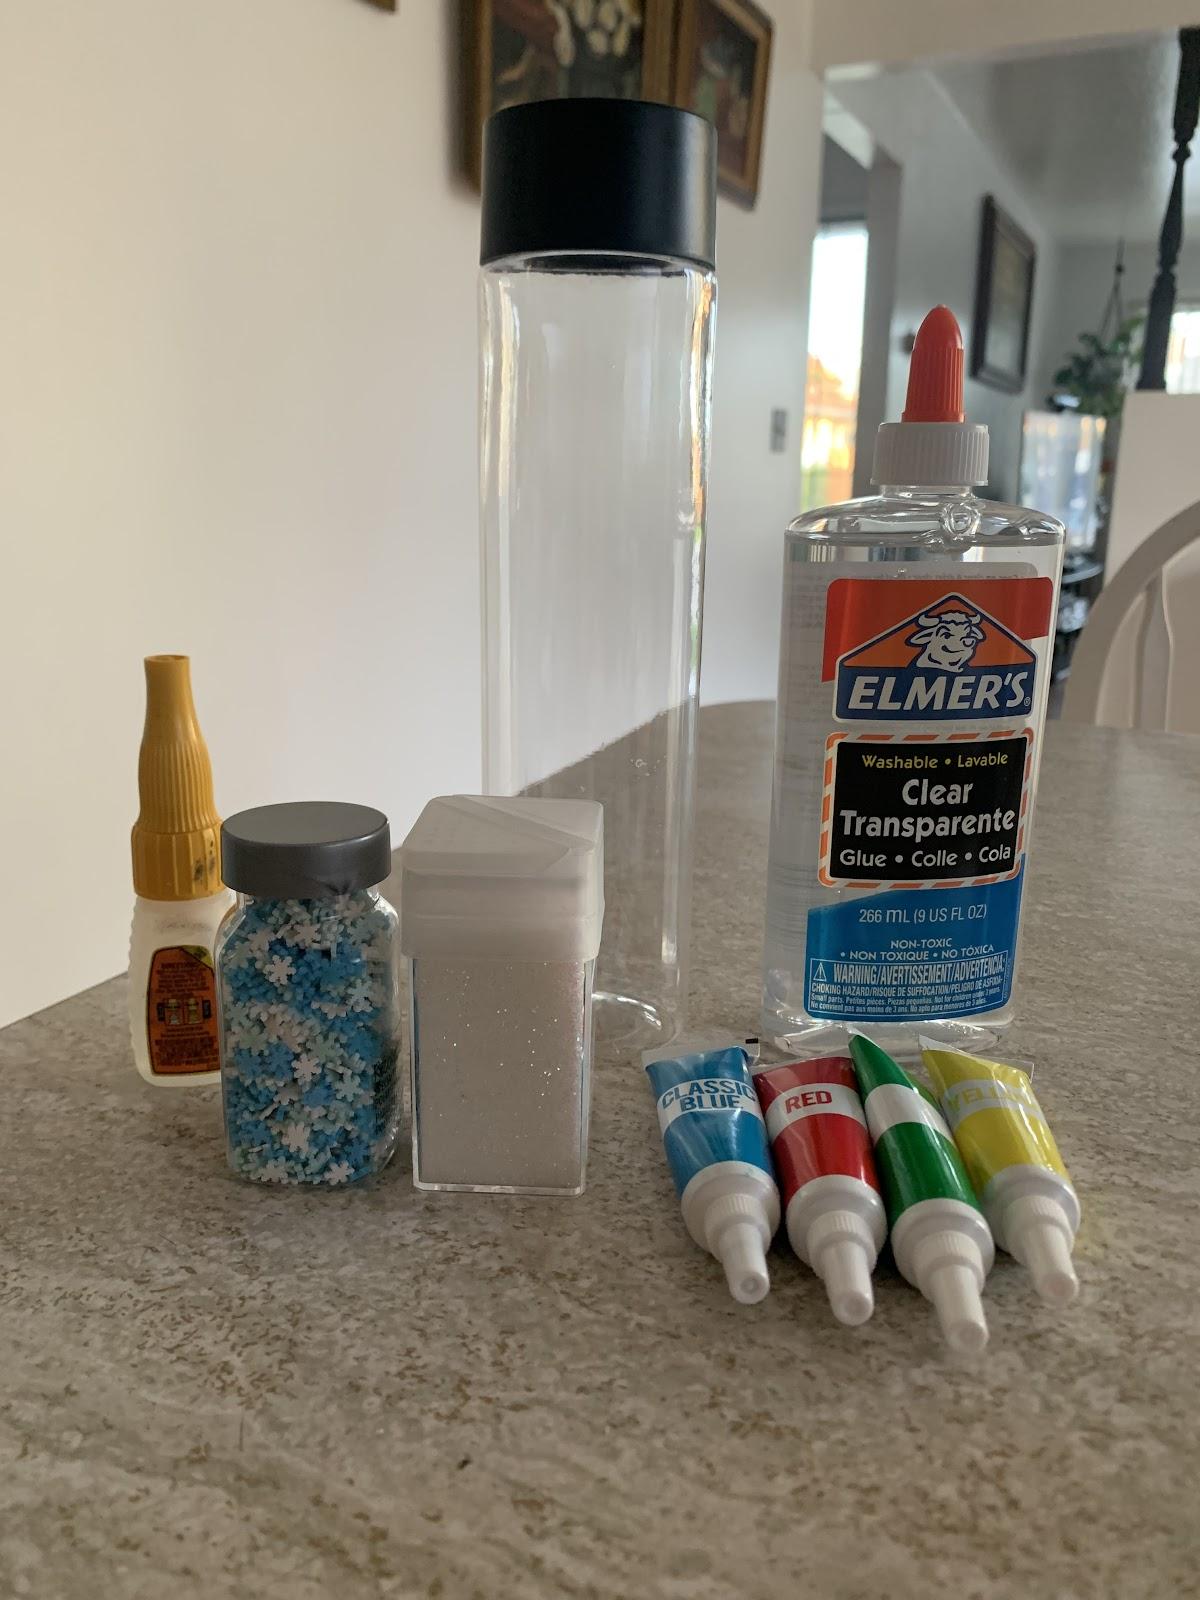
Materials:
- Clear bottle
- Clear glue
- Water
- Gorilla glue or other strong glue
- Decorations- for example glitter, confetti pieces, beads, food coloring, etc
Instructions:
Step 1: Start by removing any stickers from your bottle.
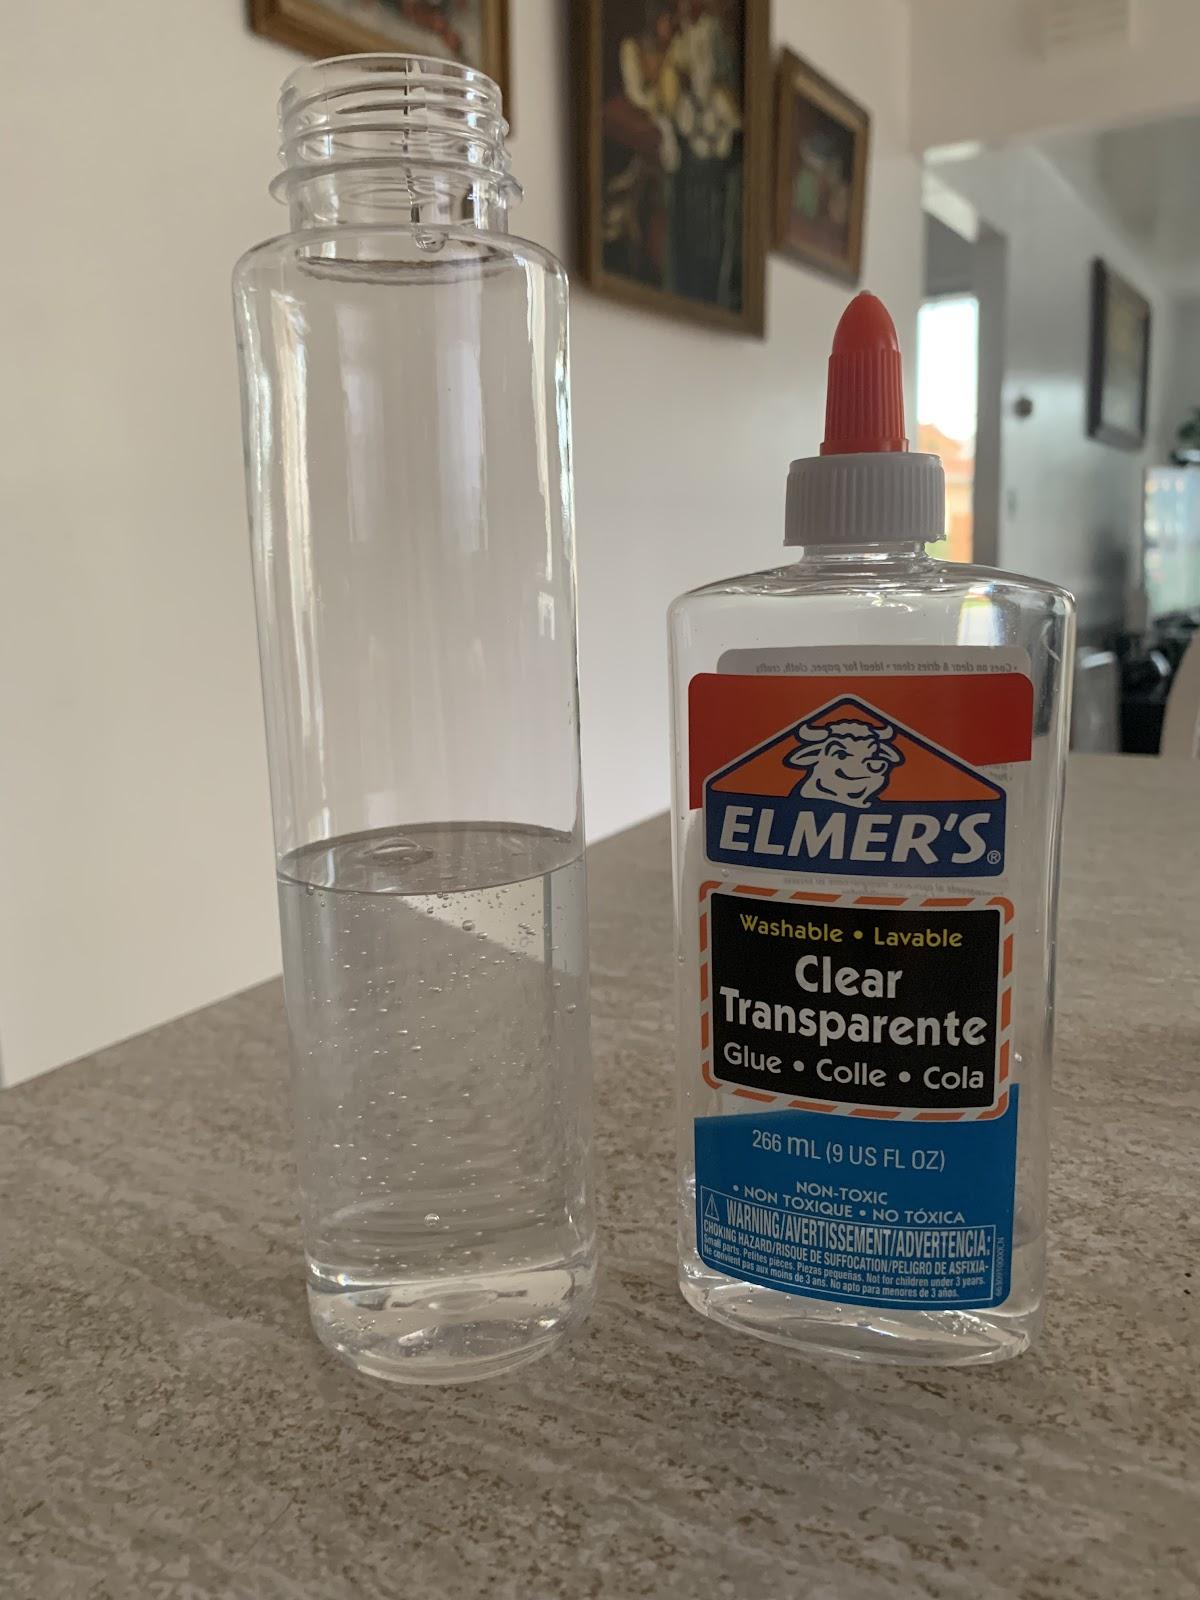
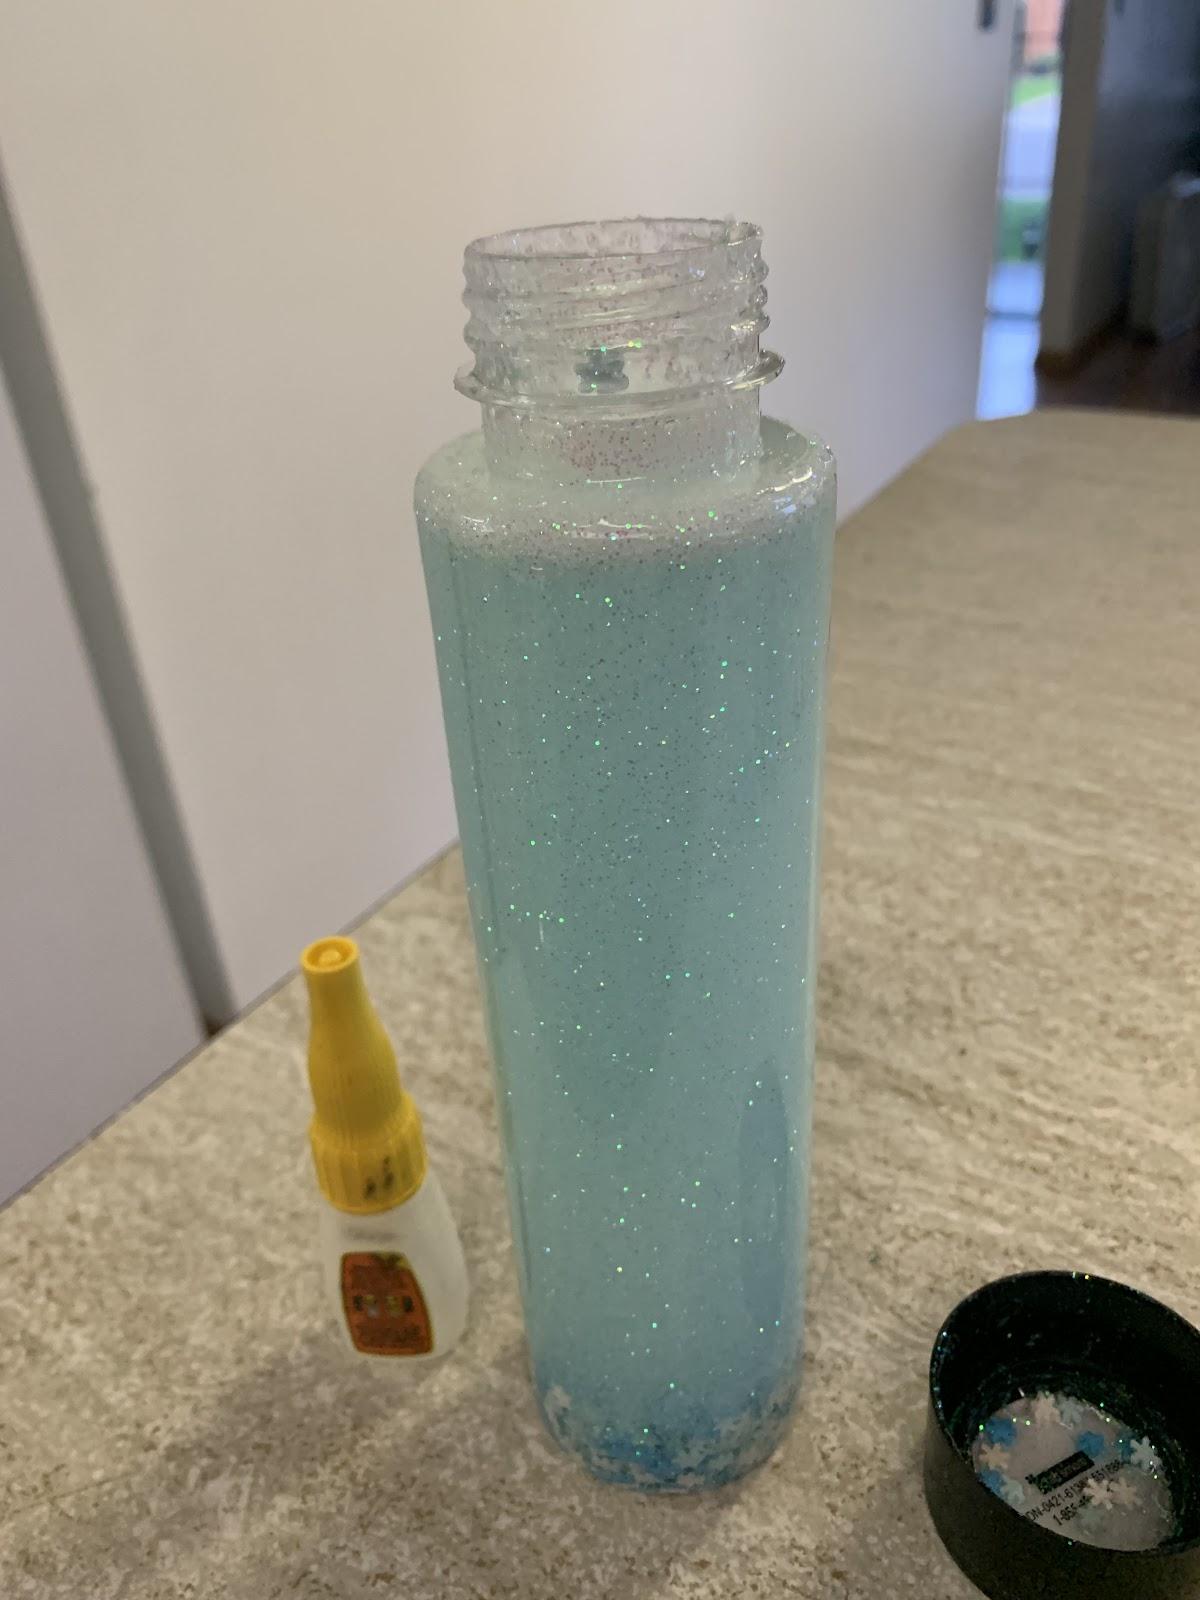
Step 2: Fill your clear bottle about ⅓ to ½ full of clear glue. If you want the items in your bottle to move slowly add more glue (½ full) and if you want them to move faster add less glue (⅓ full).
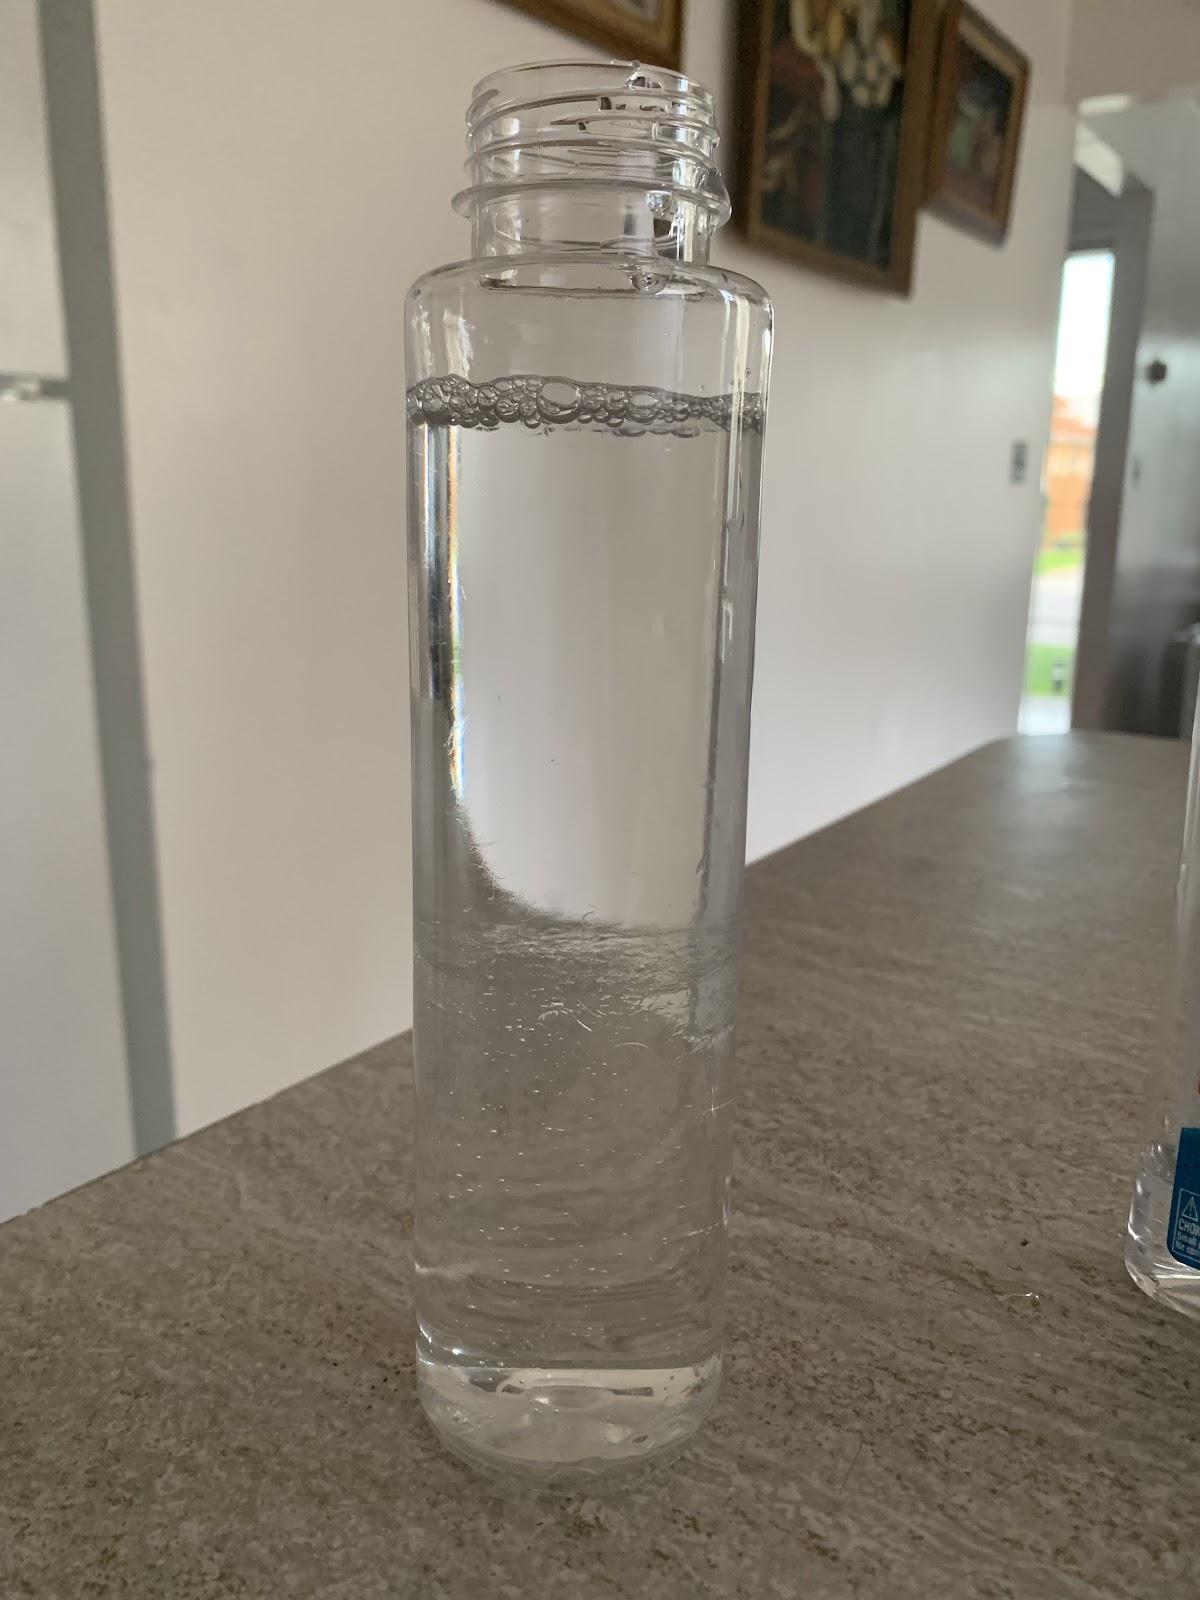
Step 3: Next add water to your bottle leaving enough space at the top to add your decorations and avoid overflowing.
Step 4: Now it’s time to get creative. You can make your bottled themed or add any objects that catch your eye. Start by adding food coloring to your bottle if you’d like a tint of color (optional). Start with one drop and add more for a darker color.

Step 5: Next you can add more decorations like glitter, confetti, beads, and small objects. Put the cap on the bottle and shake your decorations, add more if you’d like.
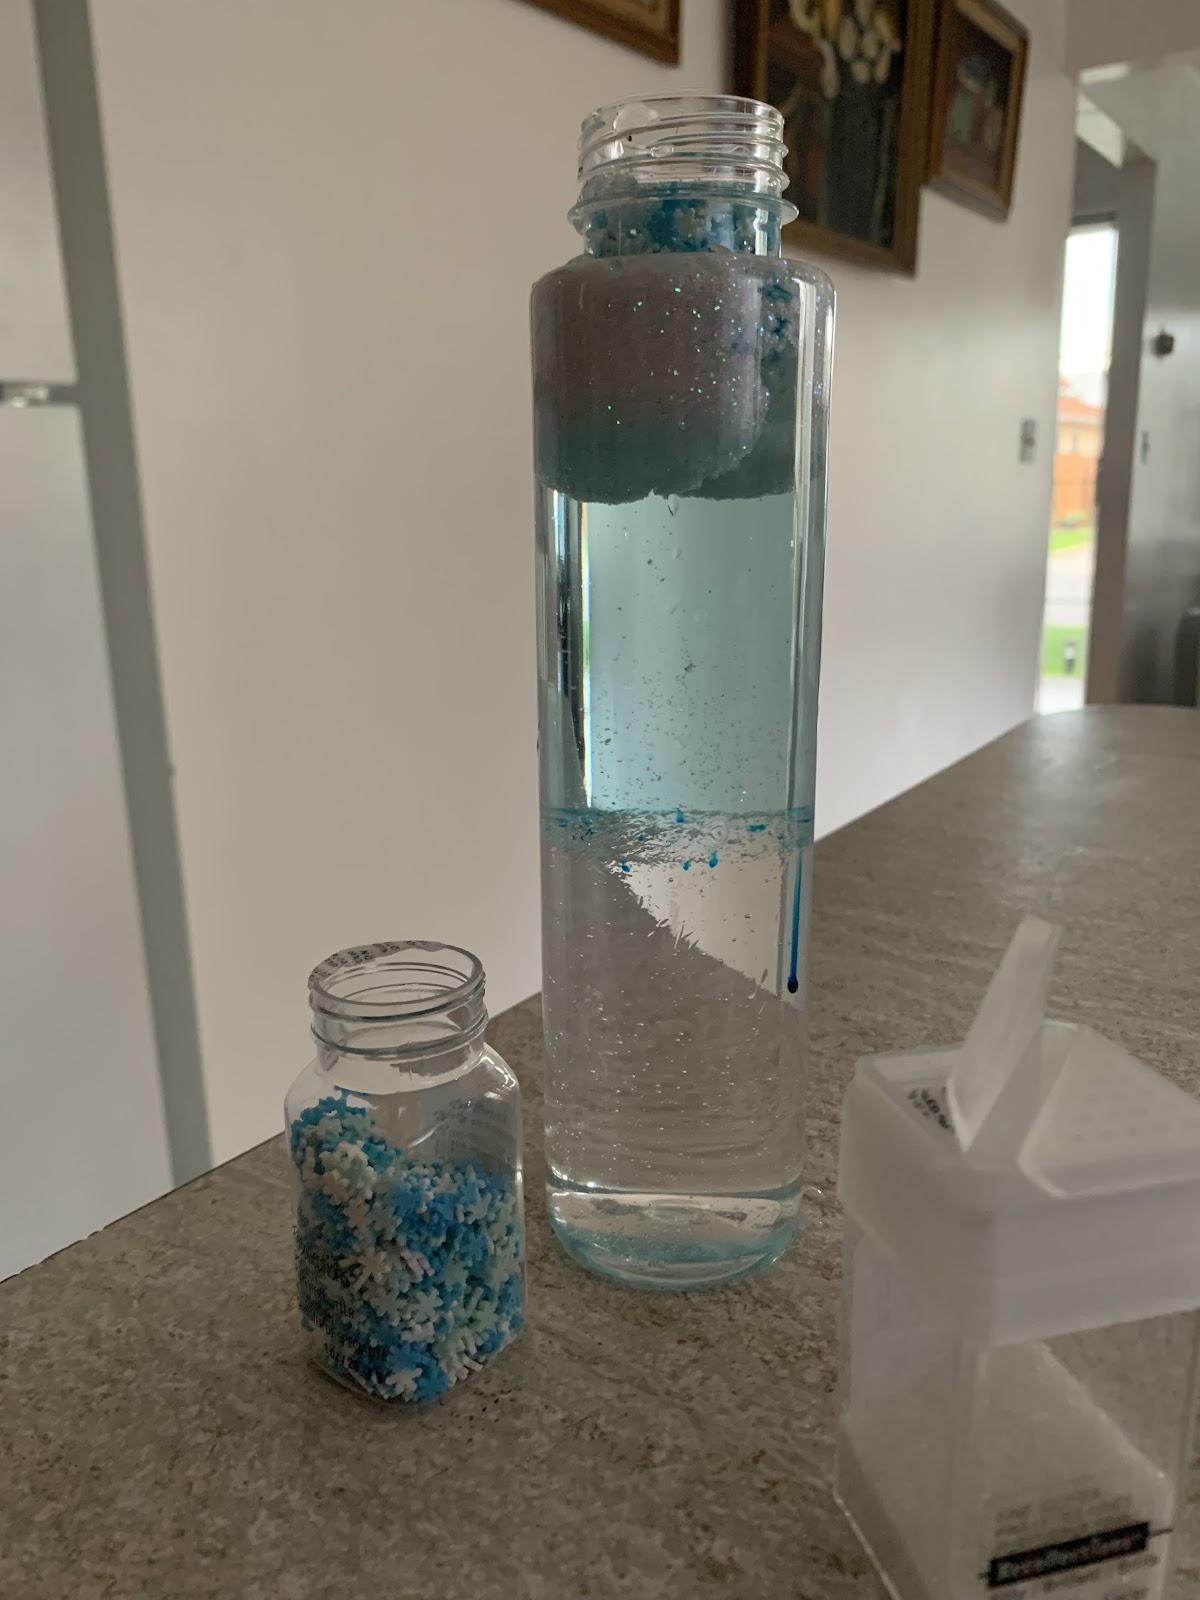
Step 6: After your bottle is decorated and shows your amazing creativity, add water to fill any remaining space. Next put strong glue (gorilla glue) on the inside of the cap and close it tight. This helps prevent the cap from opening as you shake your bottle.
Congratulations on completing your beautiful and creative sensory bottle. Have fun shaking and flipping it.
