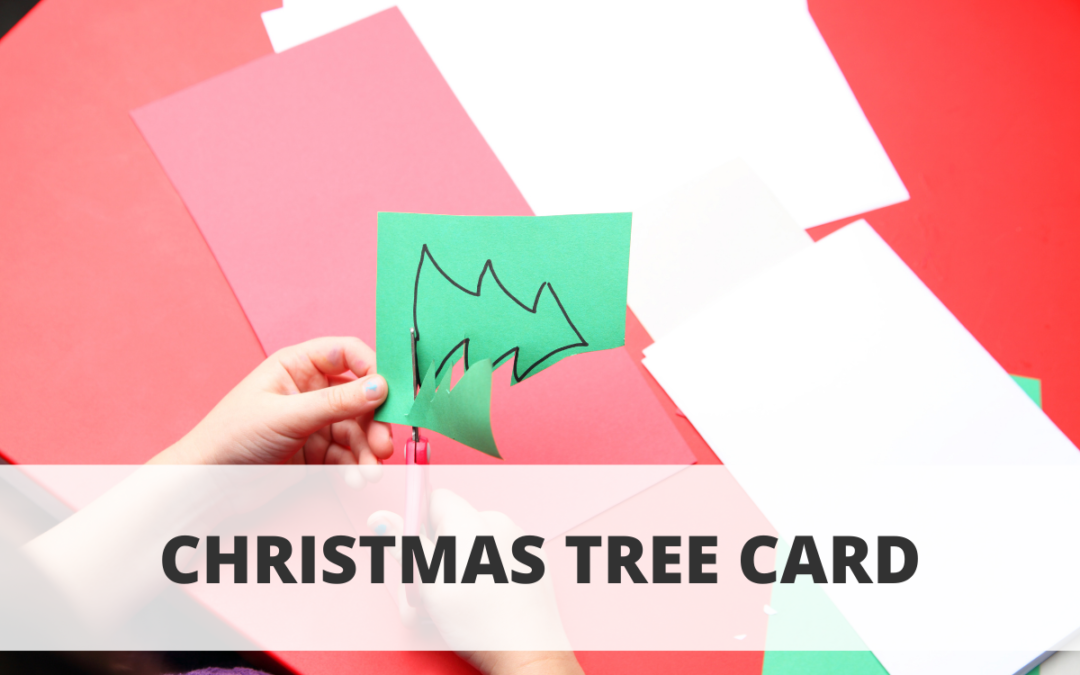
Create a unique Christmas Tree card with this fun activity
Materials:
- Construction paper (green, brown, your choice of color, and white)
- Glue
- Scissors
- A black marker or a pen

Step 1: Take your green paper and fold it about an inch’s length inward. (vertically) Keep folding it inwards to get rectangles around the same size

Step 2: Unfold the paper and cut where you’ve folded

Step 3: You should now have strips of green paper like this. Cut these green strips in half and move them aside

Step 4: Cut out two circles out of your white paper. You can use what you have to help you make your circles. (For example, I used a roll of washi tape.) Just make sure one circle is smaller than the other

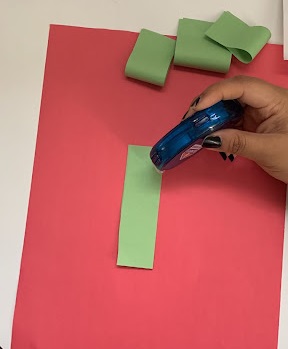
Step 5: Set aside your two circles. Get your green strips of paper and the color of construction paper you chose. (here it is red) Apply glue to one end of the green strip and fold inward leaving a “tear” or loop shape of space at the bottom. Repeat this for each green strip


Step 6: Organize these into your tree shape on the paper. I did four rows, one at the top, two in the second row, four, then five at the bottom

Step 7: Glue these in place, then cut out a small brown rectangle as your trunk

Step 8: Glue the trunk in place, and take your white circles and glue those in place to make your snowman’s shape

Step 9: Add details to your snowman and add whatever decorations or messages you’d like to your card or tree


