
Learn a little bit about the flowers around you with this flower dissection.
Materials:
- Flower
- Optionally scissor
- Extra materials to document such as paper, markers and tape
Steps:
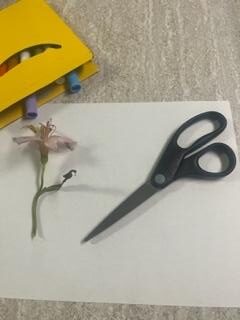
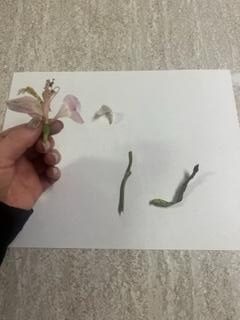
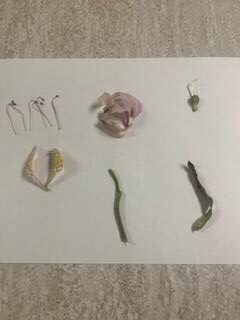
1. Take a look at the different parts of your flower that you’ll need to separate
2. Start dissecting your flower. I started with the leaf

3. Next I removed the stem
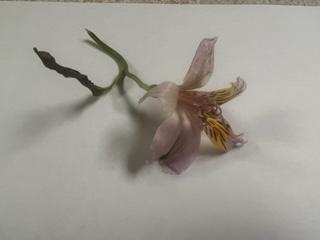
4. Next I carefully took off the sepals. The sepals are the outer parts of the flower that enclose and protect a developing bud
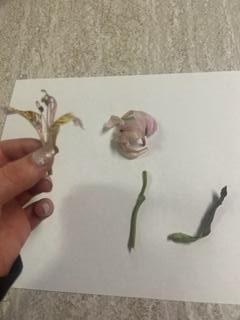
5. Then I carefully removed the petals
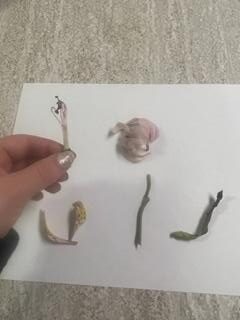
6. Next I removed the stamen. The stamen is the pollen producing part of a flower.
7. Then I had the pistil. The female reproductive structure of a flower
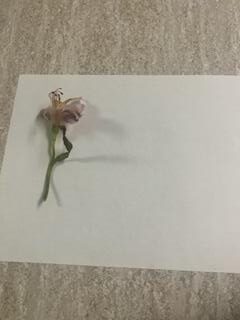
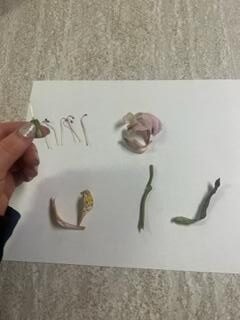
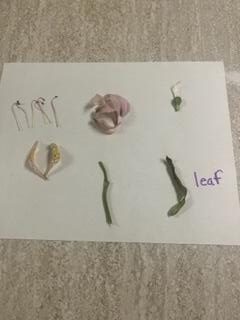
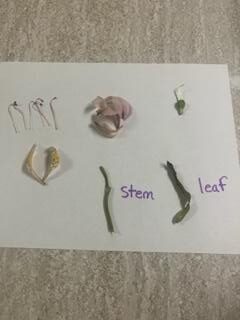
8. Next I placed all the parts of my flower on a piece of paper and labeled them. You can also put them in a notebook with tape or cover them with laminating paper. First the leaf
9. Next the stem
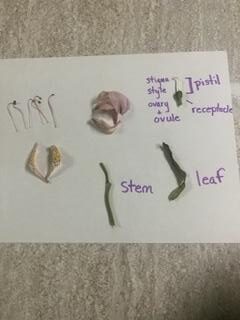
10. Then the pistil which consists of the stigma which is the sticky surface at the top of the pistil which traps and holds the pollen and the style, which is the long structure that holds up the stigma. There are also the ovary and ovule. The receptacle is the thickened part of the stem where the parts of the flower are attached.
11. Then the sepals

12. Next the petals
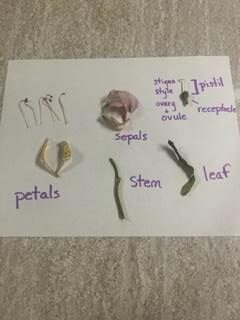
13. Then the stamen which consists of the anther which produces the pollen and the filament which holds up the anther
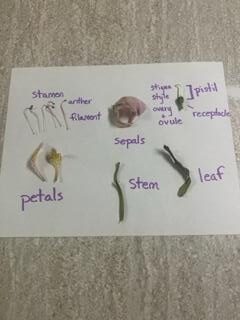
14. Lastly, I included the name of the flower which was the Alstroemeria or the Peruvian Lily

Congratulations on completing your flower dissection. Let us know in the comments how it went and what type of flower you used.