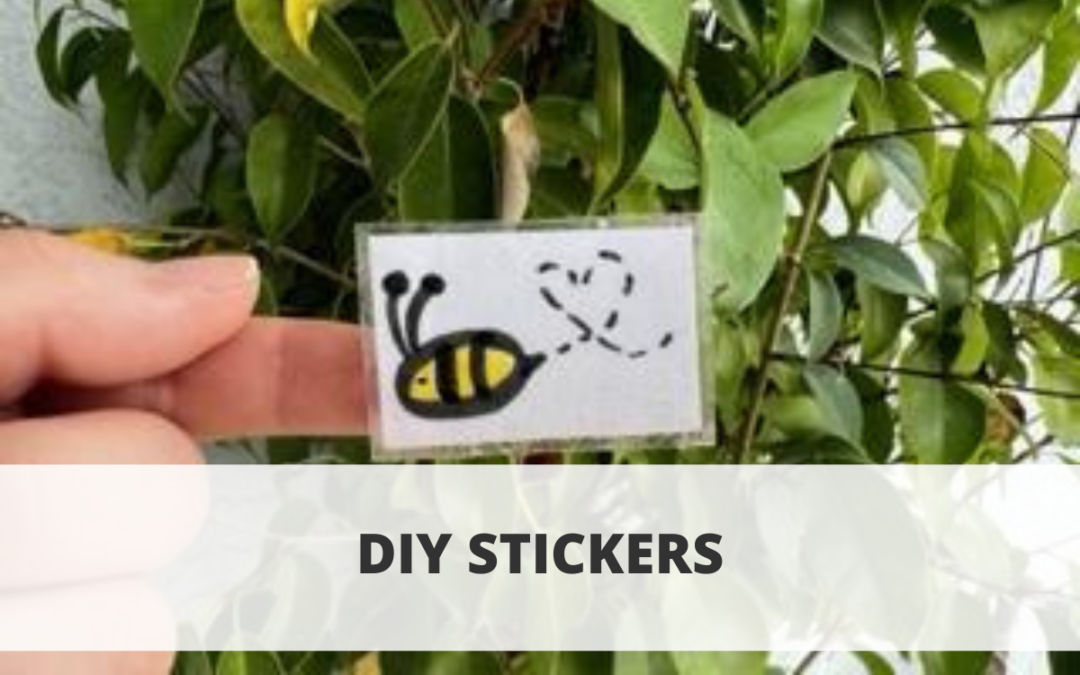
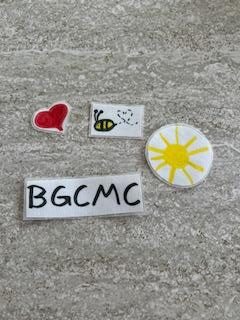
Learn how to make your own stickers! Show us the stickers that you make in the comments below.
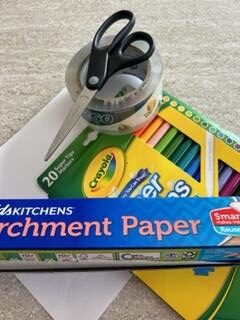
Materials:
- Clear packing tape
- Markers
- Paper
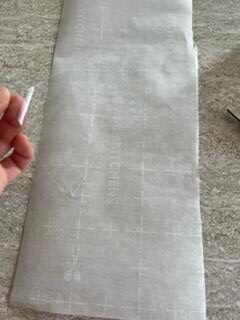
- Scissors
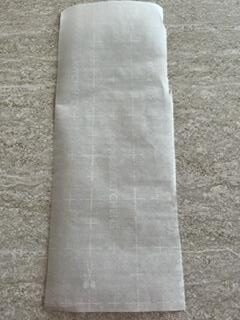
- Parchment paper
Steps:
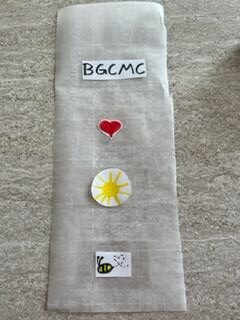
1. Draw pictures that will fit on your tape
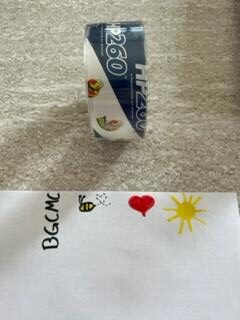
2. Cut out your drawings

3. Cut a piece of parchment paper big enough to hold your stickers
4. Cut pieces of tape big enough to cover your drawing. One piece for each drawing
5. Tape your pieces of tape to the parchment paper

6. Place your drawings on the tape with the images facing up
7. Cut more pieces of tape that will cover the drawings. One piece to cover each drawing.
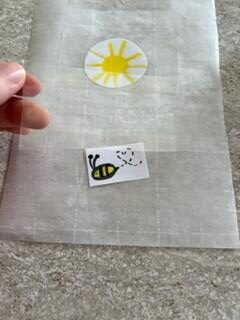
8. Place the second piece of tape over your drawings sealing it

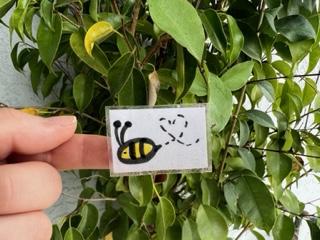
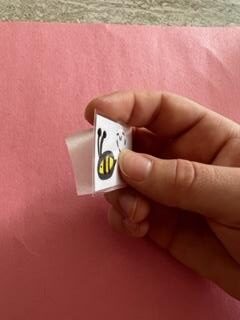
9. Cut out your drawings leaving some tape around the edges
10. Peel off the parchment paper on the back to use your sticker
Congratulations on completing your DIY stickers! Let us know in the comments how they turned out and what you made.