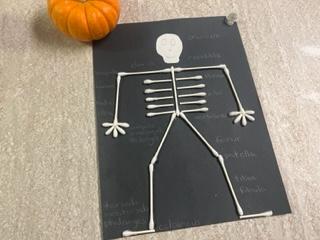

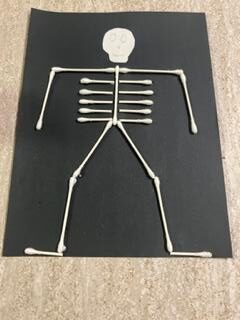
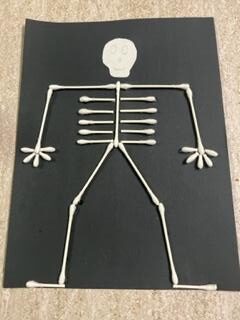
Create your own Q-tip Skeleton for Halloween with this fun craft. Show us your creations below in the comments
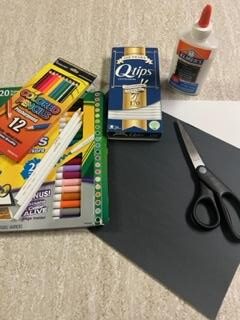
Materials:
- Q-tips
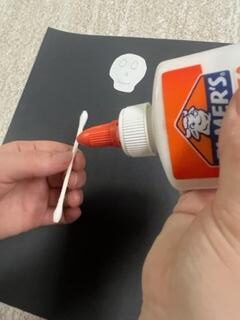
- Liquid glue
- Black paper
- White paper
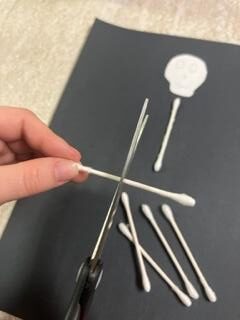
- Scissors
- Optionally colored pencils and markers
Steps
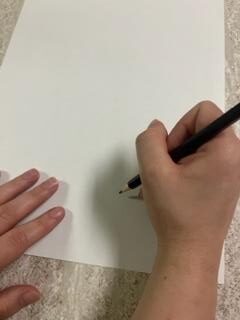
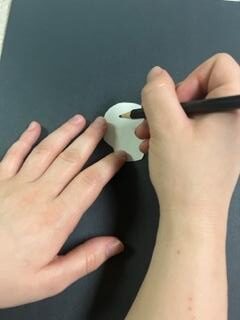
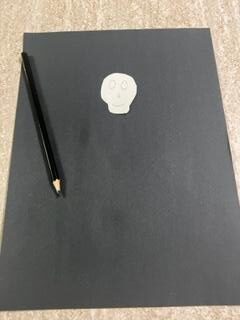
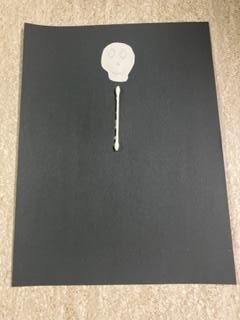
1. First start by drawing your skull. You can draw it on your piece of black paper with a white colored pencil or crayon or draw it on a white piece of paper and cut it out.
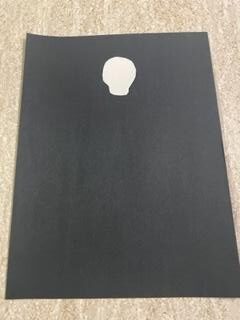
2. Optionally draw a face on your skull
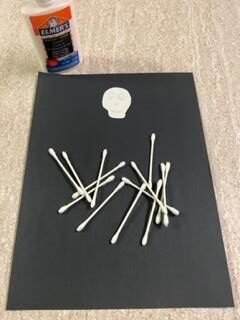
3. Now it’s time to create the skeleton. We won’t be able to add all of the over 200 bones in the body, but we will add as many as we can!
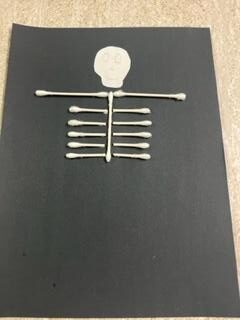
4. First start by gluing on the sternum and vertebrae, the spine
5. Next cut a few q-tips in half to make the ribs and glue them down, leave some space on top for the clavicle
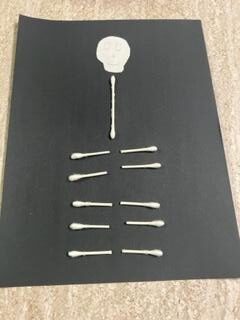
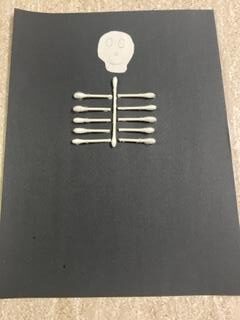
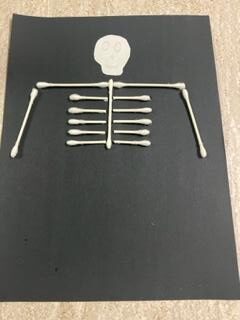
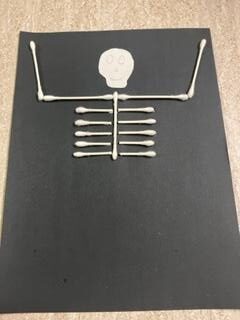
6. Next glue two q-tips to be the clavicle and scapula
7. Next, glue the arms. You can even glue them in different ways to make the skeleton waving!

8. Next start the legs. Glue down the femurs
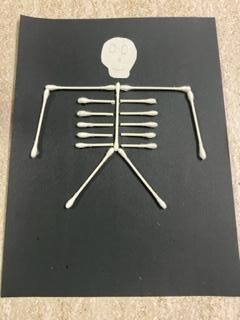
9. Glue down the tibia and fibula
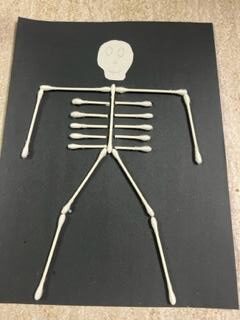
10. Cut a q-tip in half to make the feet
11. Cut the tips off a few q-tips to make the fingers
12. Congratulations on completing your skeleton craft. You can even label the different bones!