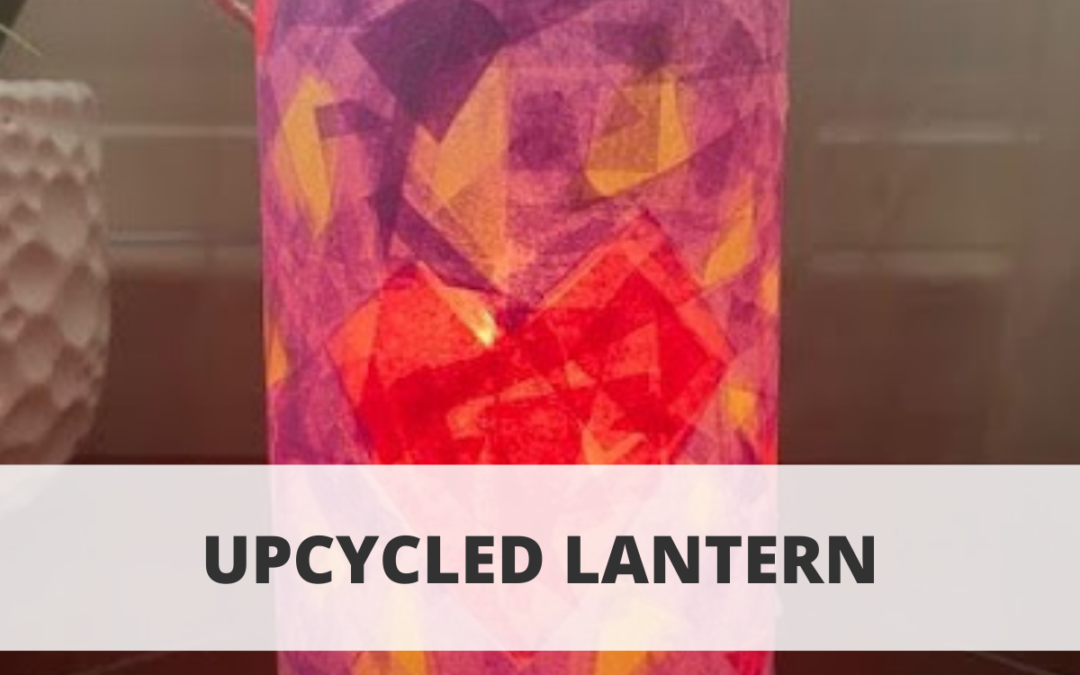
Materials:
- 1-2 liter soda/water bottle
- Scissors
- White school glue
- Water
- Paint brush
- Hole punch
- String or ribbon
- Tissue paper
- Battery operated candle or glowstick
Step 1: Gather supplies
Step 2: Once your bottle is empty, clean and dry, we are going to cut off the top at the widest part of the bottle (If this seems like a difficult task, ask your parent/guardian for help with this step).
Step 3: Choose a design for your lantern. You can cut your tissue paper or tear it however you’d like the design to look like.
Step 4: Make the glue mixture. We are going to place equal amounts of glue and water into a small cup/container. Start off with a small amount and add more as needed.
Step 5: Apply the glue mixture to the bottle, cover the entire outer surface of the bottle. Now add the tissue paper, place your tissue paper how you designed it. Paint the mixture over the paper. Add more paper and more glue as you keep repeating these steps to build on your design.
Step 6: Once the glue has dried, use the hole punch to make two holes at the top and add the string. Make tight knots to secure the string onto the bottle.
Step 7: Add your light source, preferably a battery operated candle light.
Note: We are only using a real candle to demonstrate how to do the activity! We suggest you use a battery operated candle.
Congratulations you have created your Upcycled Lantern!
Show us your lanterns in the comments below!

